NIST researchers create high-resolution 3D models from these important historical artifacts.
Using the sophisticated digital measurement techniques of modern forensics, researchers at the National Institute of Standards and Technology (NIST) have created high-resolution 3D replicas of the bullets used to assassinate President John F. Kennedy.
Why do this, so many years after the tragic events of Nov. 22, 1963? The mission of the National Archives, the keeper of these historic artifacts, is to provide public access to federal government records, and it receives many requests each year for access to these artifacts. The digital replicas created by NIST will allow the National Archives to release the 3D models to the public so anyone can view them while the originals remain safely preserved in their temperature and humidity-controlled vault.
The National Archives will make the data available in its online catalog in early 2020, allowing the artifacts to be viewed virtually from any angle or position, revealing surface details down to the microscopic level.
For additional information, see the related article, “Kennedy Assassination Bullets Preserved in Digital Form.”
Credit: J. Stoughton/NIST
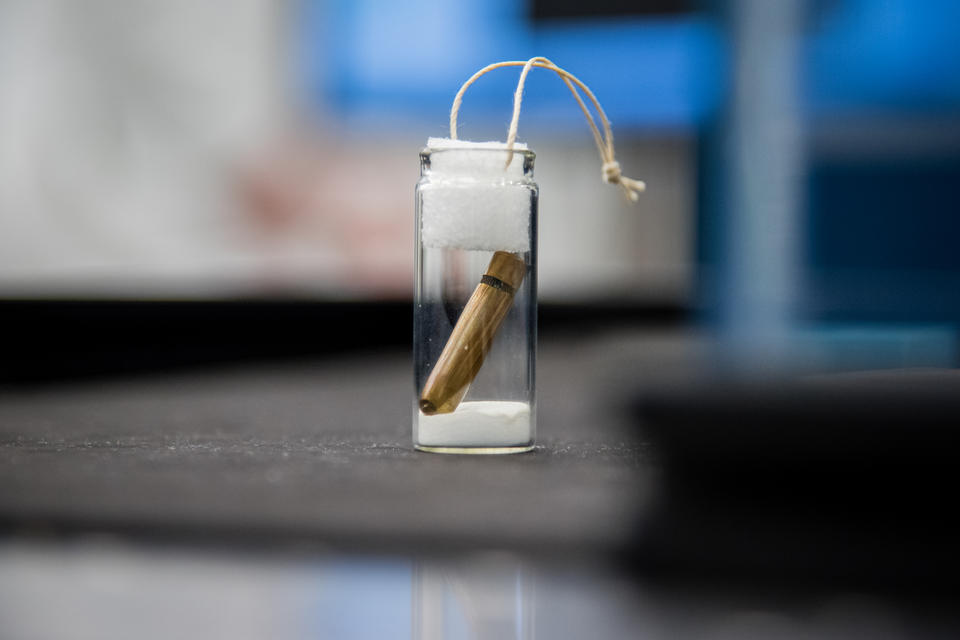
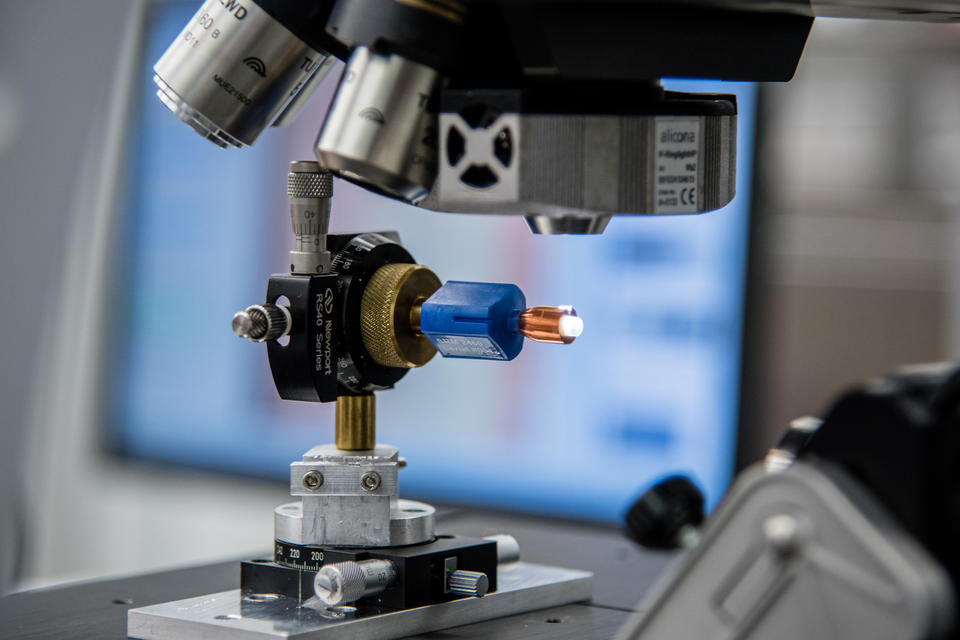
This image shows the bullet that struck both President John F. Kennedy and Texas Gov. John Connally, carefully preserved inside its glass vial prior to scanning. Known as the “stretcher bullet,” it was found on Gov. Connally's stretcher after he was taken to the hospital. It was later designated as CE 399 by the Warren Commission.
Credit: C. Suplee/NIST
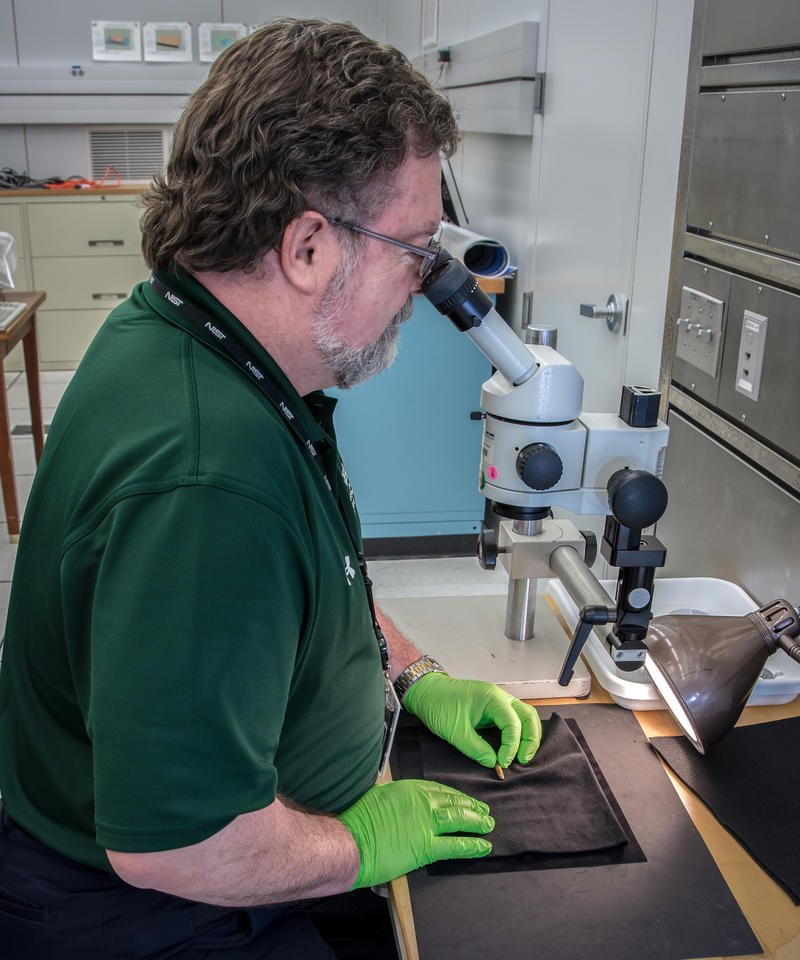
NIST physical scientist Robert Thompson examines the stretcher bullet before the scanning process begins. He’s looking for any microscopic landmarks that could be used to guide the creation of the detailed topographical scans.
Credit: J. Stoughton/NIST
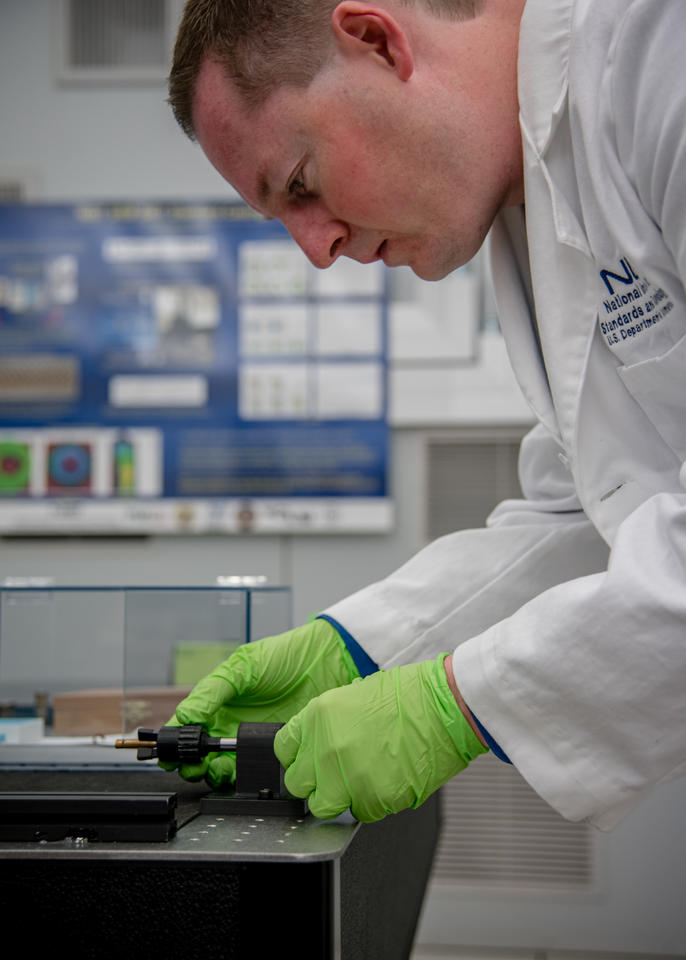
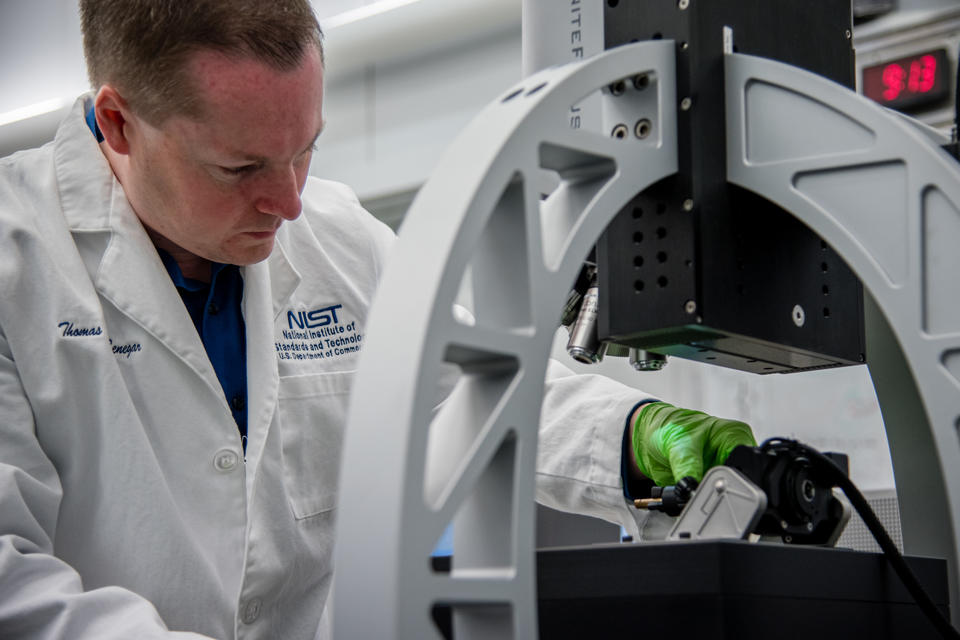
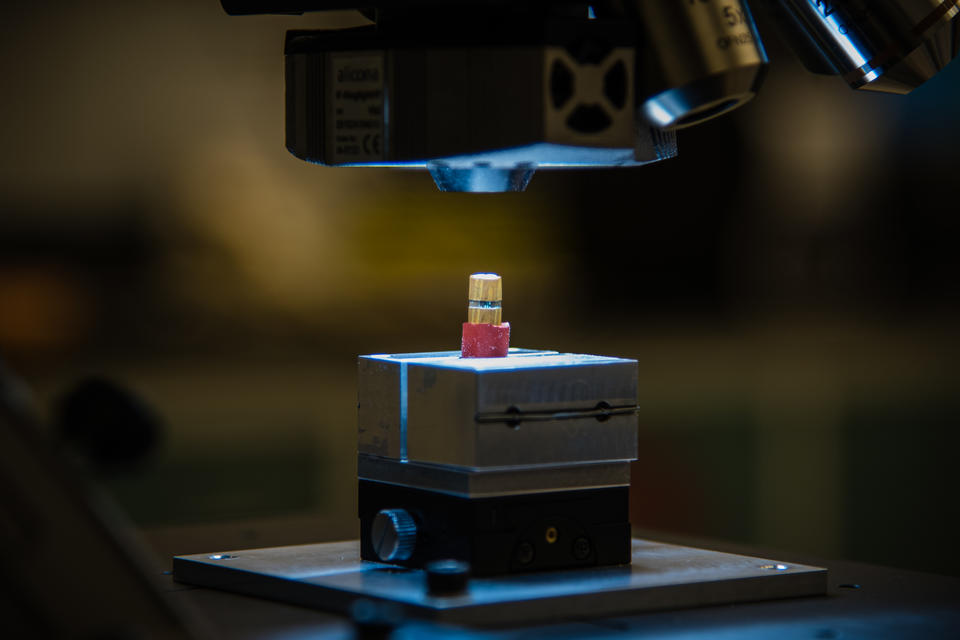
NIST physical scientist Thomas Brian Renegar prepares the stretcher bullet for a scanning run by mounting it in a custom-made non-marring chuck. Renegar designed the chuck and fabricated it using a 3D printer.
Credit: J. Stoughton/NIST
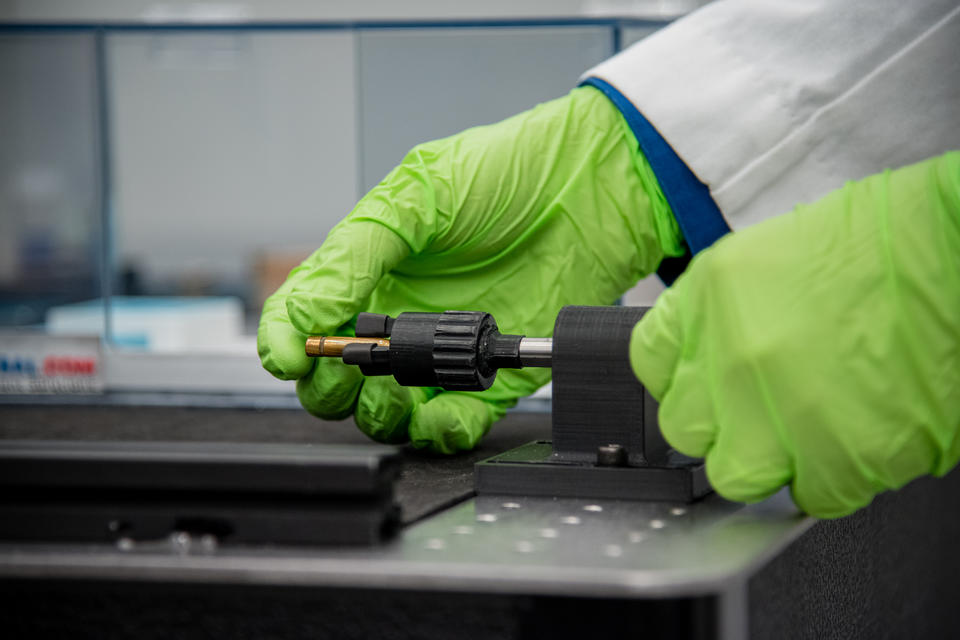
The plastic and rubber coated chuck must hold the bullet tightly enough that it remains still during the scanning process, yet gently enough that it does not mar the bullet’s soft copper surface.
Credit: J. Stoughton/NIST
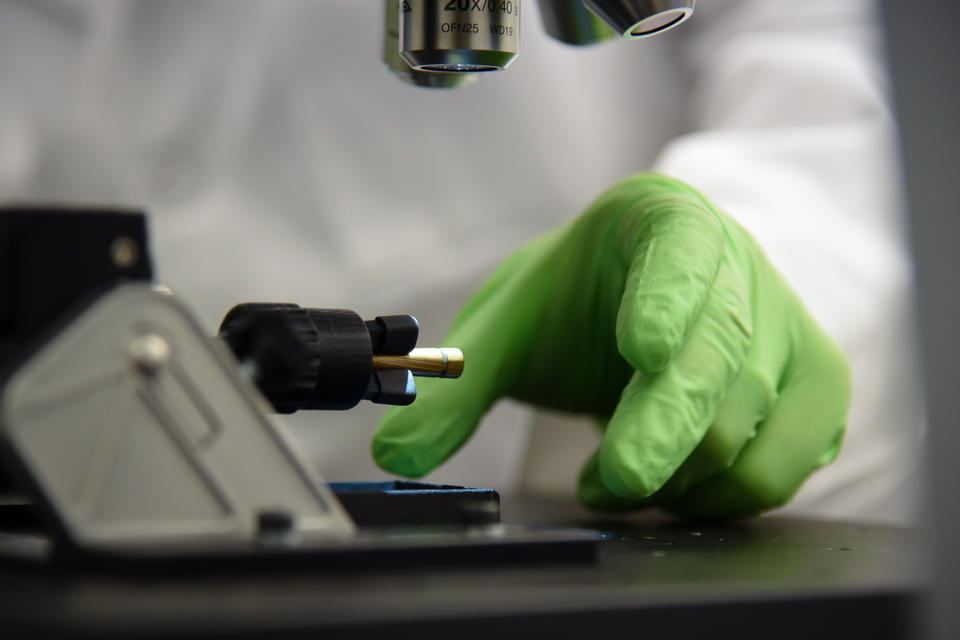
Prior to each scanning run, the system is calibrated using a known sample: NIST Standard Reference Material 2460, better known as the standard bullet.
Credit: J. Stoughton/NIST
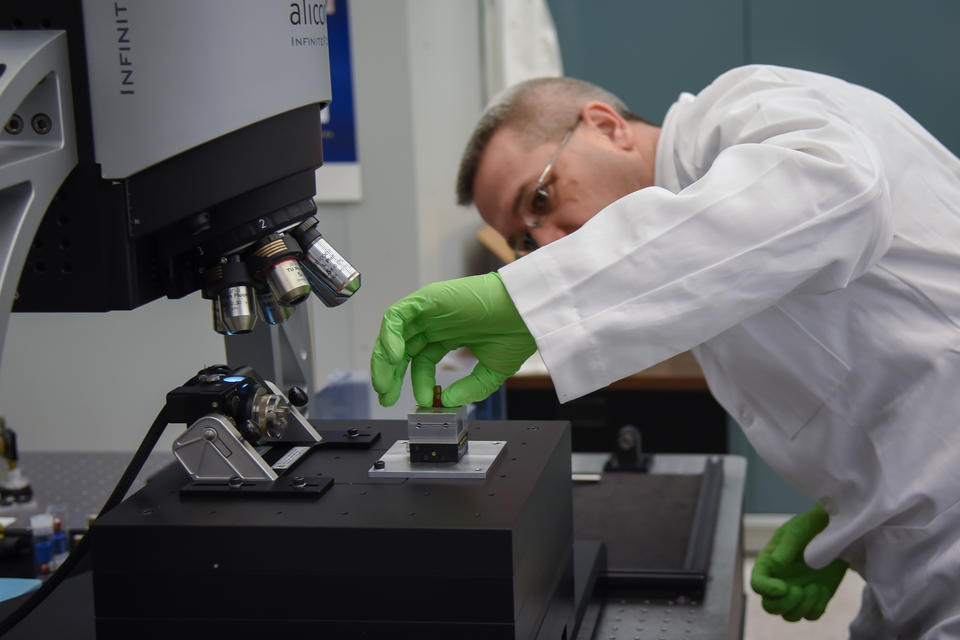
Renegar mounts the bullet, held by the chuck, on the scanning bed of the microscope.
Credit: C. Suplee/NIST
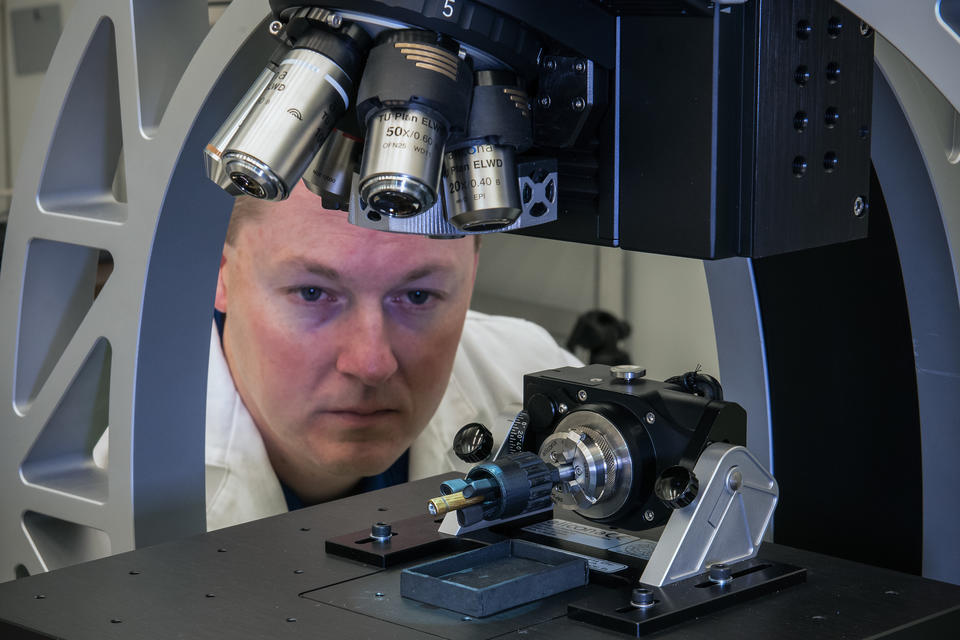
Renegar examines the positioning of the bullet before the scanning run begins. Twenty-two such scanning runs were needed to fully capture all the surface details of the stretcher bullet from every angle, resulting in 1,699 individual measurements of the bullet’s surface.
Credit: J. Stoughton/NIST
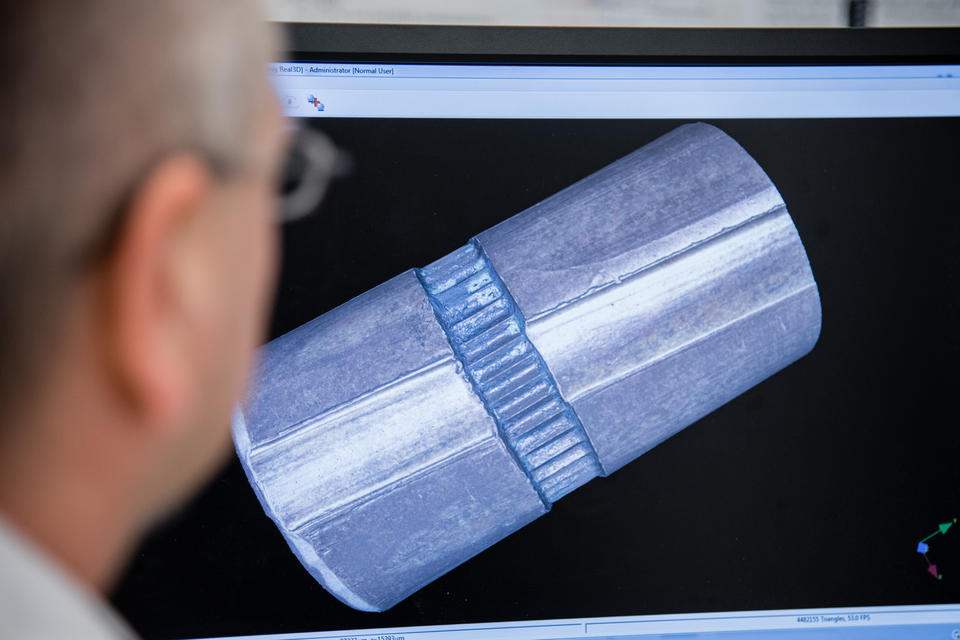
A NIST researcher views a preliminary 3D model stitched together from the many high-resolution images captured during the scanning process.
Credit: J. Stoughton/NIST
With the scanning run complete, the bullet is removed from the microscope and repositioned so it can be scanned at a new angle.
Credit: J. Stoughton/NIST
NIST physical scientist Mike Stocker places the bullet, wrapped in a silicone sleeve, on the microscope for a new run.
Credit: J. Stoughton/NIST
During the scanning process, a bright light evenly illuminates the bullet while the microscope captures a series of images. In the end, the individual images were stitched together to create a seamless 3D model.
Credit: T.B. Renegar/NIST
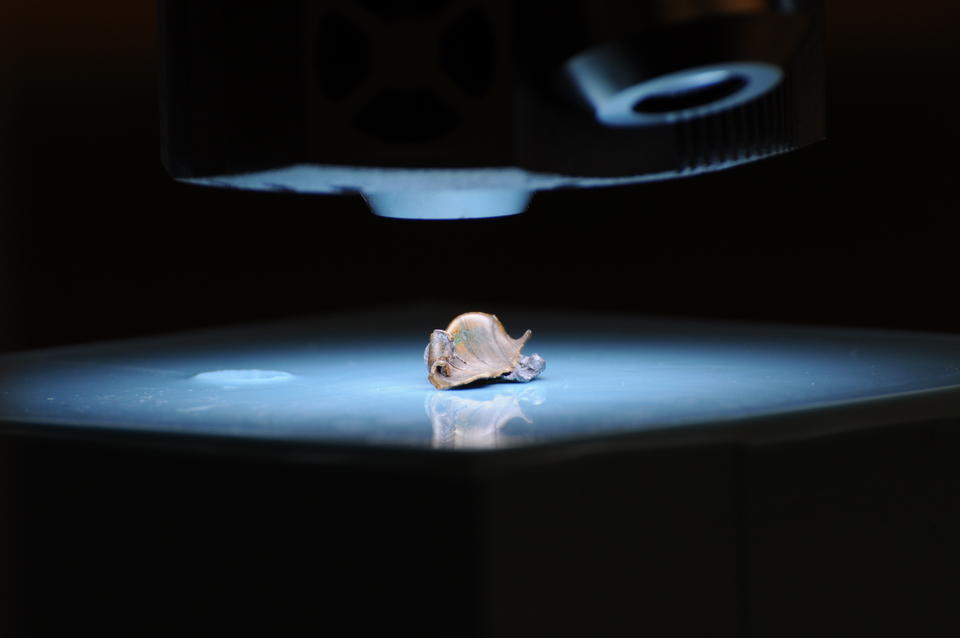
In addition to the stretcher bullet, detailed scans and models were also made of five other artifacts, including two fragments from the bullet that fatally wounded President Kennedy. In this image, one of those fragments is illuminated beneath the microscope’s lens as it is scanned. Due to its complex geometry, more than 30 scans were required to image its entire surface.
原文源自美国国家标准与技术研究院(NIST)网站,版权归其所有。如有侵权,请联系,第一时间删除。


